Want to start sending voice messages via email on your Mac Outlook version? You can achieve this by using Vocal, an app designed to facilitate the sending of voice messages per email. Here is a step-by-step guide on how to install and use Vocal on Outlook on a Mac.
To install Vocal for Microsoft 365 on Windows, check out this tutorial.
Step 1: Get to the Add-Ins Page
Begin by opening Mac Outlook on your computer. Once open, start composing a new email. You'll notice that you can't currently send voice messages. To rectify this, navigate to the three dots visible at the top-right corner of the page. Clicking on these dots will open a dropdown menu, where you'll need to click on "Get Add-Ins".
Step 2: Install Vocal
Once the Add-Ins page loads, use the search function to look up "Vocal". Vocal should appear in the search results. To install the app, click on "Add". That's all it takes to install Vocal on your Mac Outlook!
Step 3: Get Started with Vocal
If you return to your Outlook homepage and open a new email, you'll see a new button labeled "Vocal". Click on this button to access Vocal.
The first time you use Vocal, you'll be required to log in. For the purpose of this tutorial, we will log out if already logged in. There are two options for logging in, via Google account or Microsoft account. Choose the option that suits you. In this case, we'll go with Microsoft.
After clicking on the Microsoft option, you'll be prompted to log in and connect your account. You will also need to grant Vocal access to your microphone.
Step 4: Recording and Customizing Your Message
Once you have granted access to your microphone, your recording can start. You can freely share your story and pause or stop the recording at your convenience.
If you're using the Pro plan, you can customize various aspects of your recording. However, please note that customization is not available on the free plan.
Customization options include changing your avatar, modifying the message theme, and deciding whether or not to attach an MP3. Once you're satisfied with your recording and any customizations, you can attach the message to your email.
Step 5: Sending and Listening to Your Message
After attaching the message, send your email as you would any other. Once sent, you can find your message in the 'Sent Messages' folder.
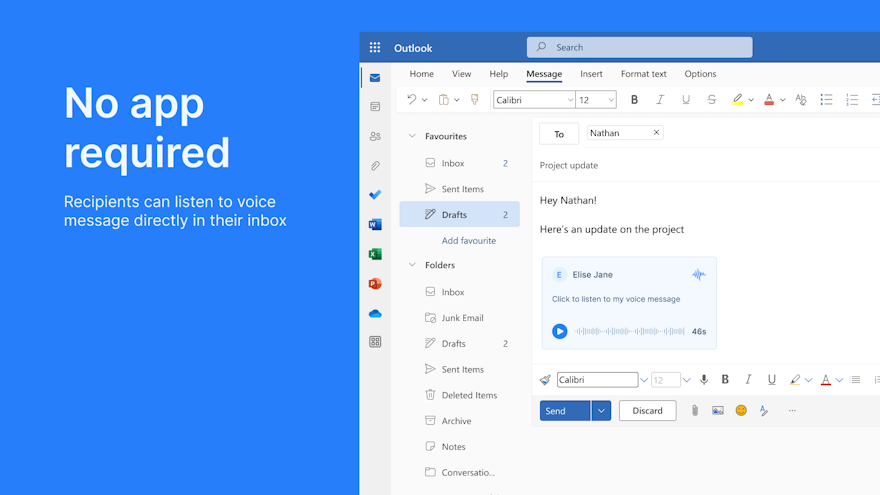
You can listen to your voice message by clicking on the link within the email. This will open your message in a new browser window. Alternatively, the recipient can click on the message directly to listen to it.
That's all there is to it! Sending voice messages via email has never been easier. Enjoy using Vocal to enhance your email communication experience. Have a good day!