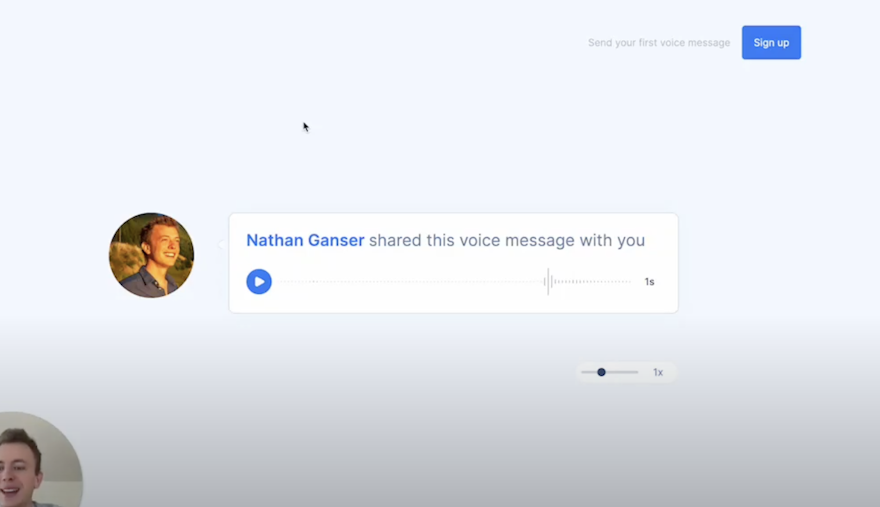
Vocal is a powerful tool that allows you to send voice messages via email, making communication more efficient and personal. By default, when someone receives a voice message from you and clicks on the link to listen to it, they are taken to a landing page with options to sign up for Vocal themselves.
However, you may want to customize this landing page to enable the recipient to simply send you a voice message response directly. This tutorial will walk you through the steps to set that up.
Step 1: Create a Collect Form
The first step is to create what Vocal calls a "collect form." This is a unique link that you can send to someone, allowing them to easily record and send you a voice message without needing to sign up for Vocal themselves.
To create a collect form:
1. Log in to your Vocal account and go to the "Collect" section.
2. Click the "+" button to create a new collect form.
3. Choose a unique identifier for your form, such as "response", and click "Create."
You now have a collect form link that you can send to anyone, which will take them to a simple page where they can record a voice message for you. You can customize the message on this page if you'd like.
Step 2: Add the Collect Form to Your Listen Page
The next step is to add a button to your Vocal listen page that will direct the recipient to your collect form to record a response.
To do this:
1. Go to your account Settings and scroll down to the "List Page" section. This is where you can customize your public Vocal landing page.
2. Under the "Call to Action" settings, enable the call to action button.
3. Paste your collect form link into the "Link" field.
4. Customize the button text to something like "Reply."
5. Add a message to clarify the purpose, such as "Send me a voice note back."
That's it! Your changes are automatically saved.
Step 3: Test It Out
Now when someone receives a voice message from you and clicks the link to your listen page, they will see a "Reply" button. When they click that, they'll be taken to your collect form where they can easily record a voice message response and send it to you by entering their email address.
Managing Responses
To access the voice messages you receive via your collect form:
1. Go to your Vocal recordings. You'll see a unique new folder called "Responses" that contains all the messages you've received.
2. You'll also receive an email notification whenever someone sends you a message through your collect form.
3. You can listen to the responses either directly in the web app or by opening the email notification.
Conclusion
By following these simple steps, you can customize your Vocal listen page to make it incredibly easy for your voice message recipients to respond back to you with a voice message of their own. This facilitates more natural, conversational exchanges and can be great for gathering feedback, providing support, or simply having more personal dialogues.
Vocal's collect forms are highly versatile and can be used in many contexts beyond just email responses - for example, you could add them to your website, share in your social media profiles, include in your podcast notes, etc.
The ability to customize your public landing page and seamlessly allow voice responses empowers you to use voice messaging in creative ways to connect more meaningfully with your audience, customers, colleagues, friends and family.
Give it a try and see how you can incorporate voice messages and responses into your communications! Vocal makes it simple and efficient to add a personal touch, save time typing, and build stronger connections.